Date : 5th March 2026
Article by Mohammed Ahsaanuddin - Nakshatra Systems.
Introduction to PXE boot
=========================
PXE (Preboot Execution Environment), also known as Boot on LAN, is a network boot technology that
allows a computer to boot an operating system over the network, rather than from a local drive.
This is especially useful in large-scale IT environments where centralized management and deployments
are needed, such as in data centers or corporate networks.
Benefits of PXE (Boot on LAN)
=================================
Centralized Management: IT administrators can deploy and maintain operating systems from a single server, reducing manual work.
Rapid Deployment: Large numbers of systems can be set up quickly, making it ideal for corporate or educational environments.
Diskless Solutions: Enables booting without a hard drive, which maybe beneficial for certain applications.
Maintainence or Recovery : PXE can be used to boot into a diagnostic or recovery environment when a computer's internal storage has issues.
PXE boot requirements
=========================
Nakshatra Linux provides a built-in automated PXE setup utility (`pxesetup`) within the ISO/Live DVD.
For the client you will a pxe boot supported hardware network interface card (NIC).
NOTE:
-----
The pxesetup utility auto-detects, if a DHCP server is running on the local network.
If it finds no such server, then the wizard will starts its own dhcp server, which will prompt
you to enter the required details accordingly. So if there is a DHCP server already running on
the network , please do not start another dhcp server which might conflict with the existing one.
How to install via PXE - steps
===============================
Setting up the server
----------------------
This tutorial assumes you already have a working DHCP server on your LAN.
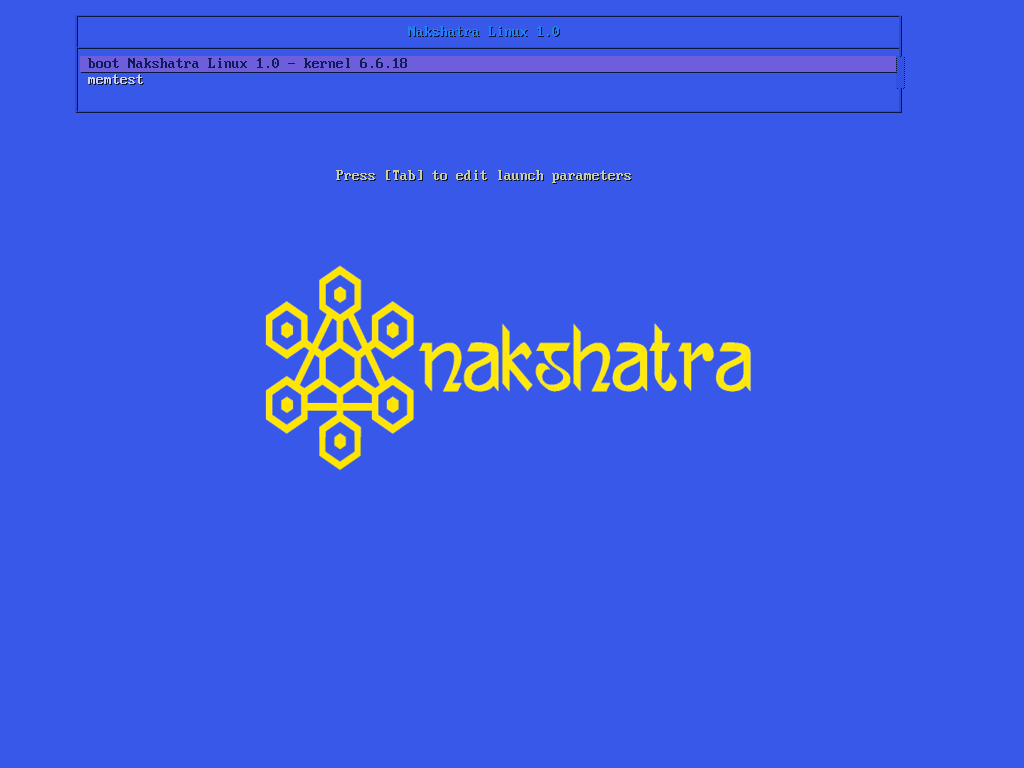
1. boot from the live ISO. You will see a screen like this. Smack enter.
 2. Once the iso has booted, login as root.
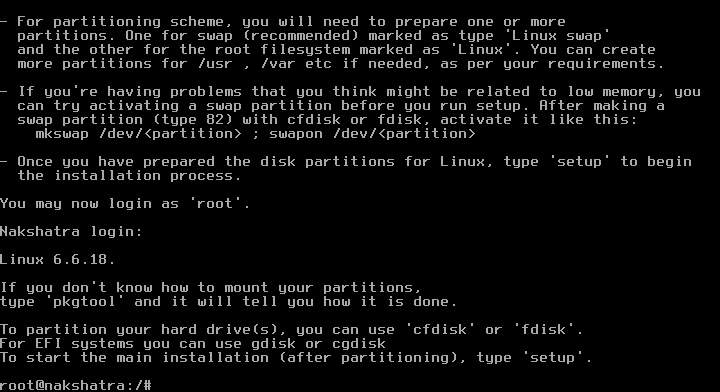 3. Run pxesetup at this junction
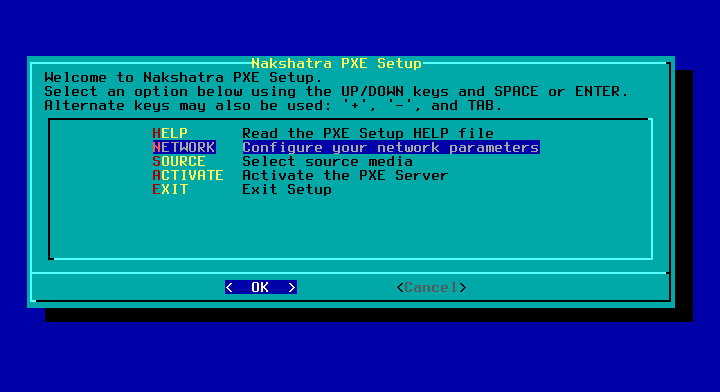
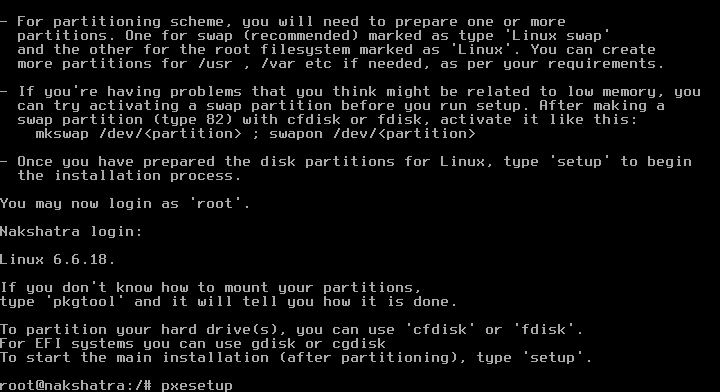 4. This will start the pxe server wizard. You can go through the HELP option if you want.
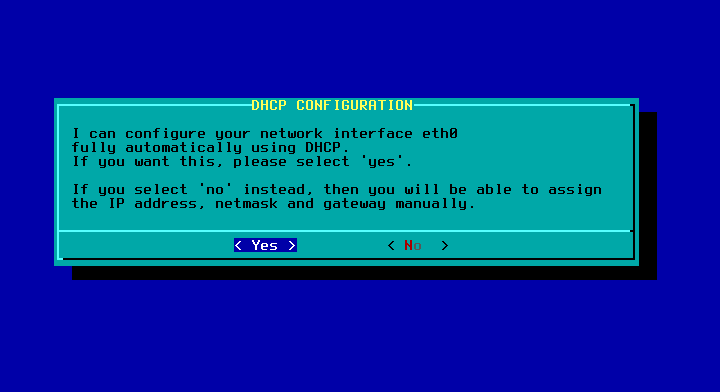
 5. Next, let the dhcp server assign a IP address to the server (since we are assuming one running already)
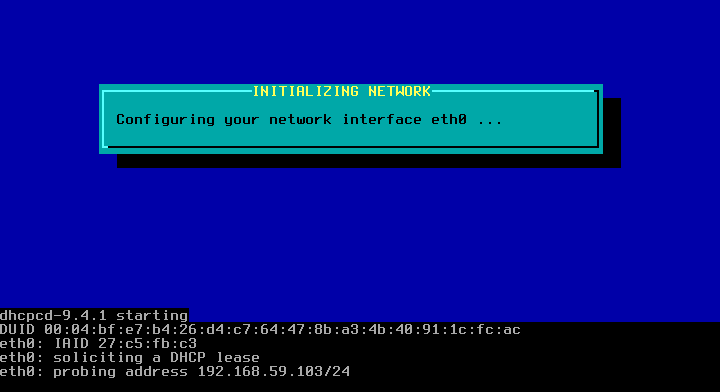
 6. As you will get a IP address the network will get initialized.
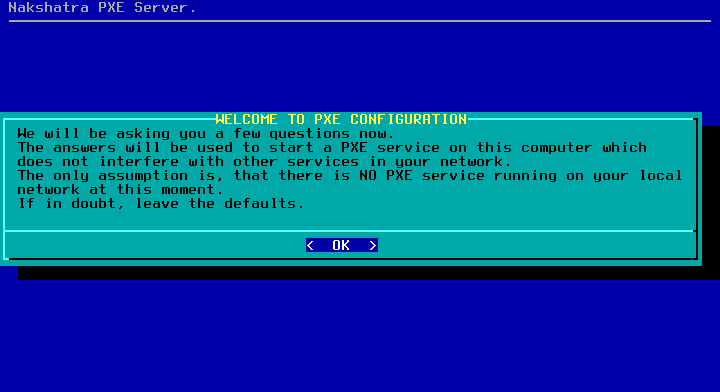
 7. Continue with YES here if you dont have another PXE server on the network.
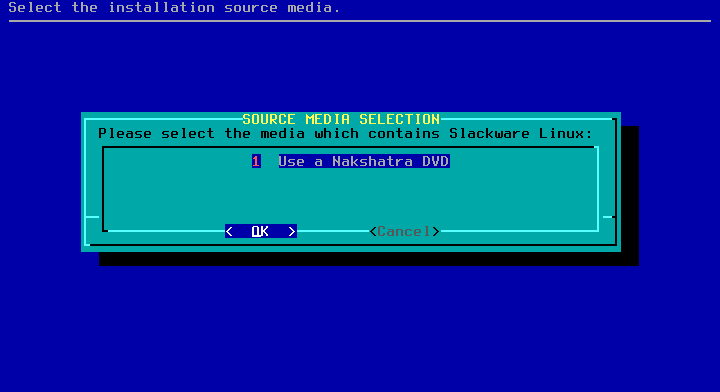
 8. Select the PXE media (Nakshatra DVD)
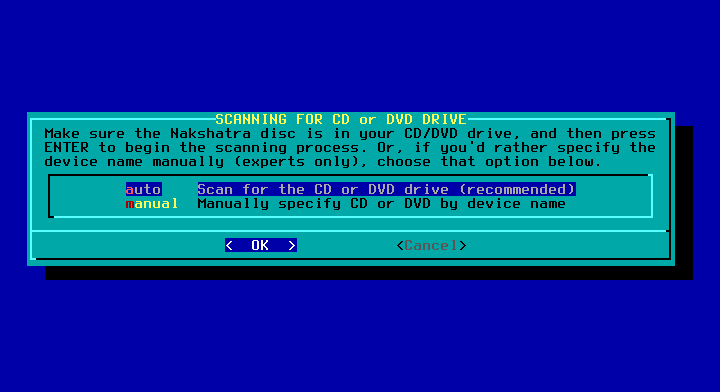
 9. Select auto scanning here.
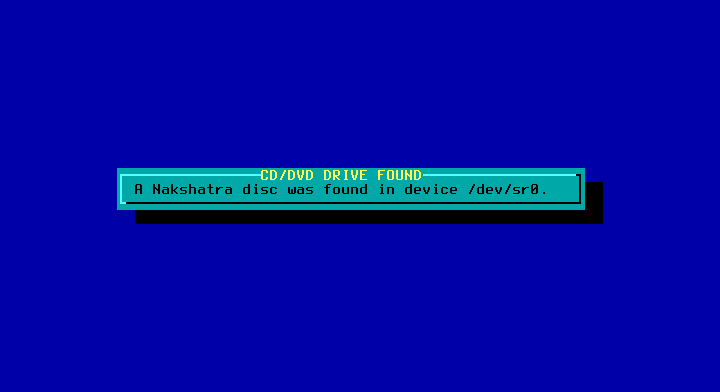
 10. The media will be detected as shown.
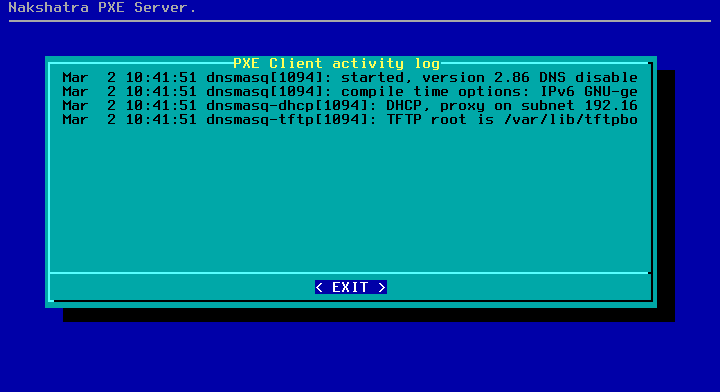
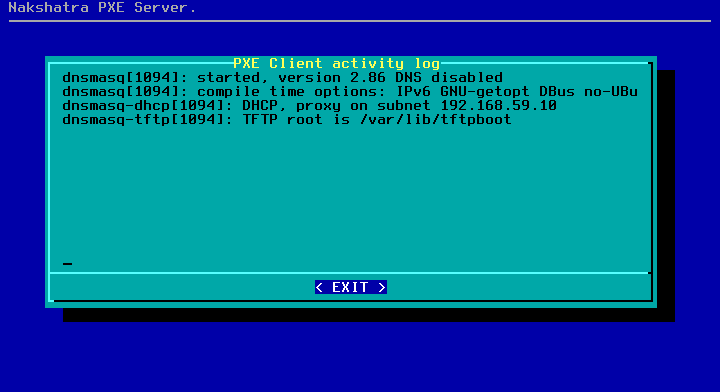
 11. The next dialog window will clearly show the log of the activated PXE server.
 12. Finally you will see the PXE server is activated.
 This sets up the PXE server.
PXE client setup
--------------------
Configure your client to boot through the network (BIOS settings may need to be changed).
Once it boots , it fetches the kernel image and initrd over the network from the server.
as shown below.
This sets up the PXE server.
PXE client setup
--------------------
Configure your client to boot through the network (BIOS settings may need to be changed).
Once it boots , it fetches the kernel image and initrd over the network from the server.
as shown below.
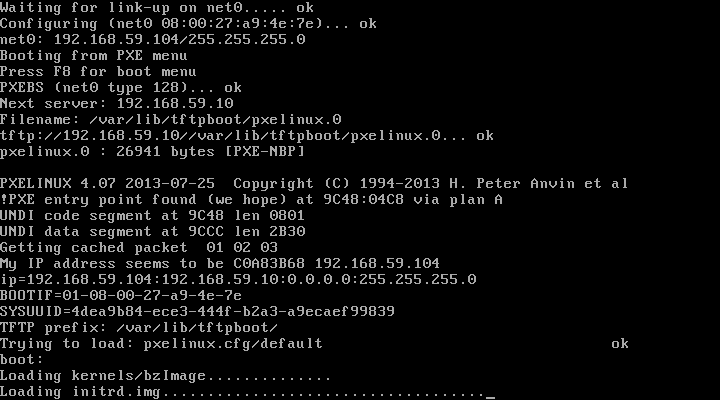 You will see the familiar intro screen for Nakshatra.
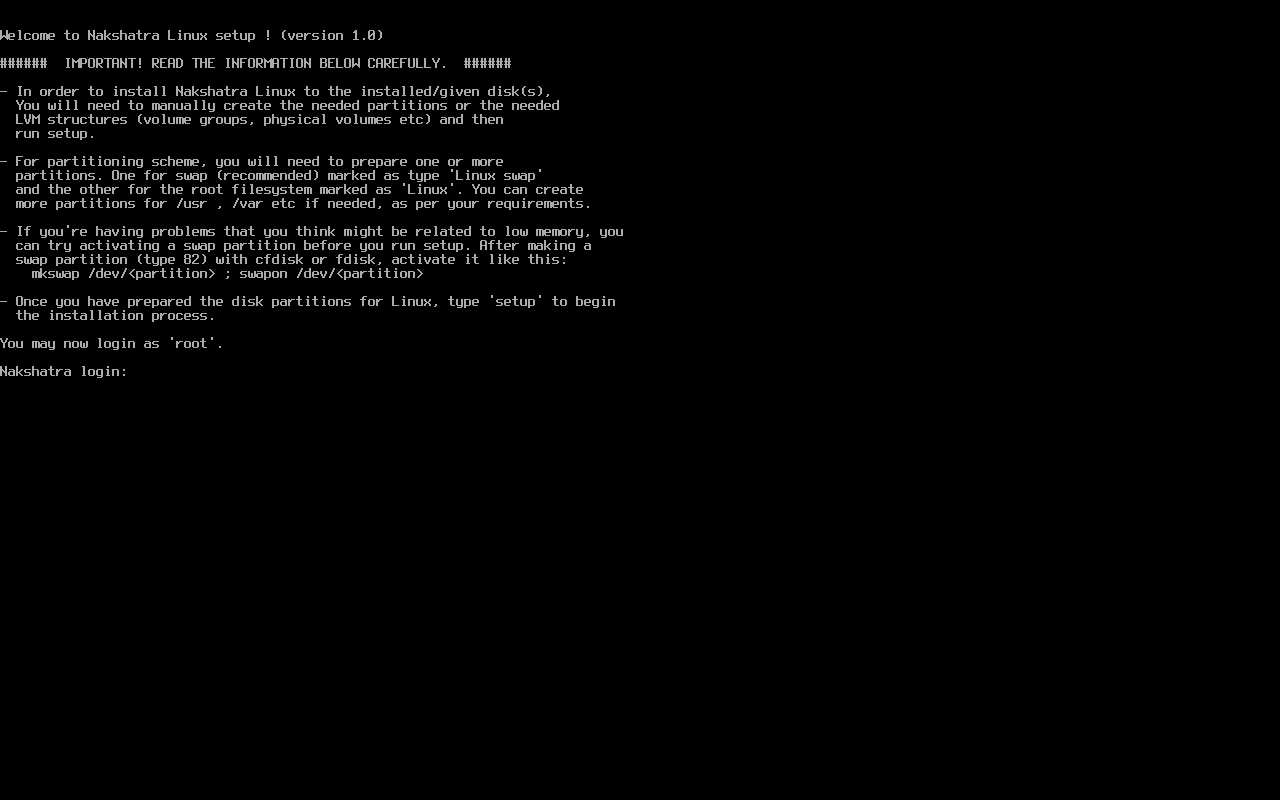 This completes PXE boot.
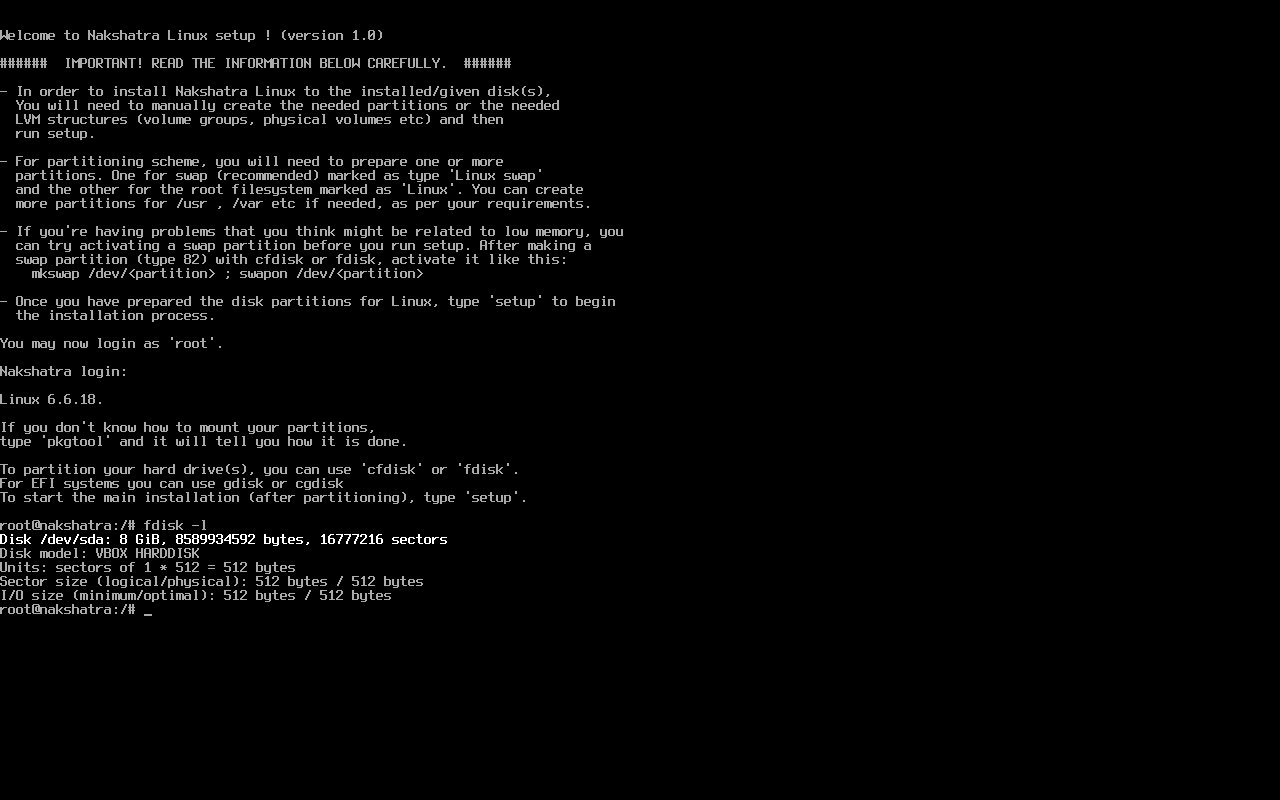
At this stage you can run setup or troubleshoot.
Sample image shows running fdisk -l to detect the disks.
This completes PXE boot.
At this stage you can run setup or troubleshoot.
Sample image shows running fdisk -l to detect the disks.
 SECURITY GUIDELINES
========================
- Use PXE only in controlled networks
- Disable PXE services after deployment
- Do not expose PXE servers to public networks
- Restrict the DHCP pool range
- Isolate the PXE network using VLANs in production environments
SECURITY GUIDELINES
========================
- Use PXE only in controlled networks
- Disable PXE services after deployment
- Do not expose PXE servers to public networks
- Restrict the DHCP pool range
- Isolate the PXE network using VLANs in production environments